What can we help you with?
Find answers here, or submit a help request by using the link at the top right of your screen.
SmartDirectoryAI
How do I add tags to a business listing?
Last updated on 23 Oct, 2025
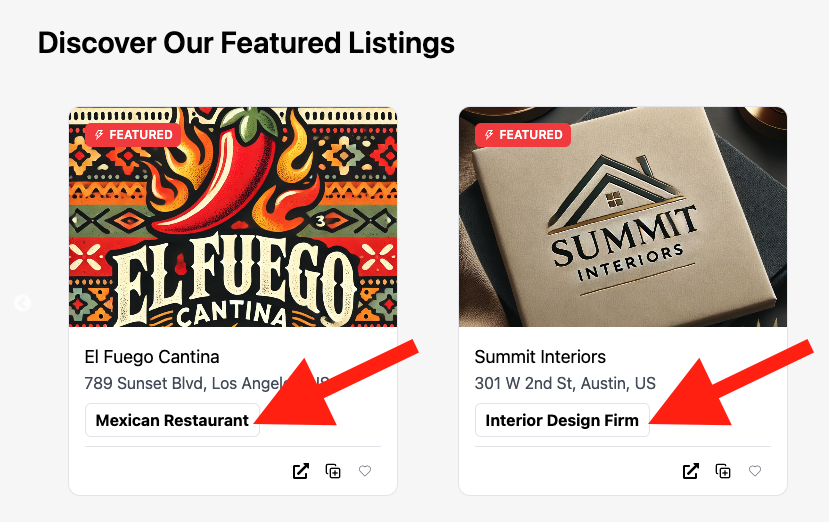
Business tags in SmartDirectoryAI help you organize, filter, and segment listings across your directory.
There are two ways to add tags:
Manually, one listing at a time
In bulk using a CSV import
Let’s walk through both.
Option 1: Add Tags Manually
Step 1: Create Tags
Before you can assign any tags, you’ll need to create them:
Go to your SmartDirectoryAI app dashboard
Navigate to: Businesses > Business Tags
Click Add New Tag to create any tags you want

Step 2: Assign Tags to a Business
Once your tags are set up:
Navigate to the Contacts tab of your HighLevel app
Find and click the business listing you want to tag
Scroll down to the Business Tags section of the contact profile
Start typing to find the tag(s) you want to apply, and select them from the dropdown menu
Option 2: Add Tags in Bulk via CSV Import
If you're working with a large number of tags or listings, bulk importing is a faster way to go.
Bulk Import Tags:
Go to Businesses > Business Tags
Click the Upload CSV button
Upload a CSV file with all your tags (download sample file here)

Note: If you’re moving from an Agency Growth Machine site, you can export your tag list from there. Go to Listings > CSV Category Export, and it will export a CSV, ready for importing to SmartDirectoryAI.
Bulk Assign Tags to Listings:
During the bulk import process, map the "Business Tags" column to the "Business Tags" field in HighLevel
That's it! Now each listing imported will have the appropriate tag(s) from your CSV file